.comment-link {margin-left:.6em;}

StoneHome

Sunday, May 25, 2008

Tile on the floor has been laid by Luis, the "jack of all trades". Wonderful work, it looks nice.


Grouting should be next... wondering about the color, now.


Other updates, the north wall features now a side walk that will eventually lead to a gate to the road.


Retaining wall on the south side has been laid on concrete recently, cistern tanks now to the right will be set on place next to the wall. At this point I was insulating the outside of it.


Sunday, March 02, 2008

Levelling the floor

We had to level the floor to ready it for laying the tiles, everything electric conduit and so was in place already.

After the doors come the windows

So these are the looks of the front of the house with windows and doors in place. The rejointing between stones is pretty crappy and needs to be retouched but it makes good general final impression.

This is how I made one of the windows upstairs. Notice the stones above, held with two rebar iron rods, bent and supported by nylon tape with a tightening crank, fixed to clamps on the beams above. Without this system the stone would naturally crumble on my head while trying to work at the window.


And the next pics are of the replacement of the small window at the back of the house, curiously below the road level. For safety I placed a cast iron, handmade antique iron here since is the one window that gives to the outside, the road, and will be eventually outside the fencing of the house. Outside and inside view, the brick masonry here has been particularly awful, call it "rustic elaborated".


Tuesday, June 26, 2007

Hello again after a few months of recess, what you see is what happened in that time. Luz Amaya has taken most of our time and turned it into happiness, is hard to use time to keep a blog up withe her being around wanting to play. She is and will be always first.
But next, the update.

Sunday, May 20, 2007

Upper door

The folliwng pic is the stone lintel that were to be placed 15 feet obove, on top of the upper door. Because it was too tall, I had to cut it longways, with the hummer and chisel, and a small rotary stone saw, that makes a cut 5 inches deep; took me a whole day.


On this one, the right side has completed; check out the way I was holding the rest of the wall above, with rods across it attached to the beams above, althoough a pillar was assuring it at this point.


Once it was pretty done, the lintel came to its place above there no problem, I made very sure I had all the measures right this time and we got it in at the first shot.


Inside look of that upper floor door, pretty nice, no?

And that is two down... next is the left window uper floor.

Main entrance door

Hello y´all after a little while, sorry for the late posting, but just too many things happening at the same time moved the keeping up the blog back in the list of priorities.
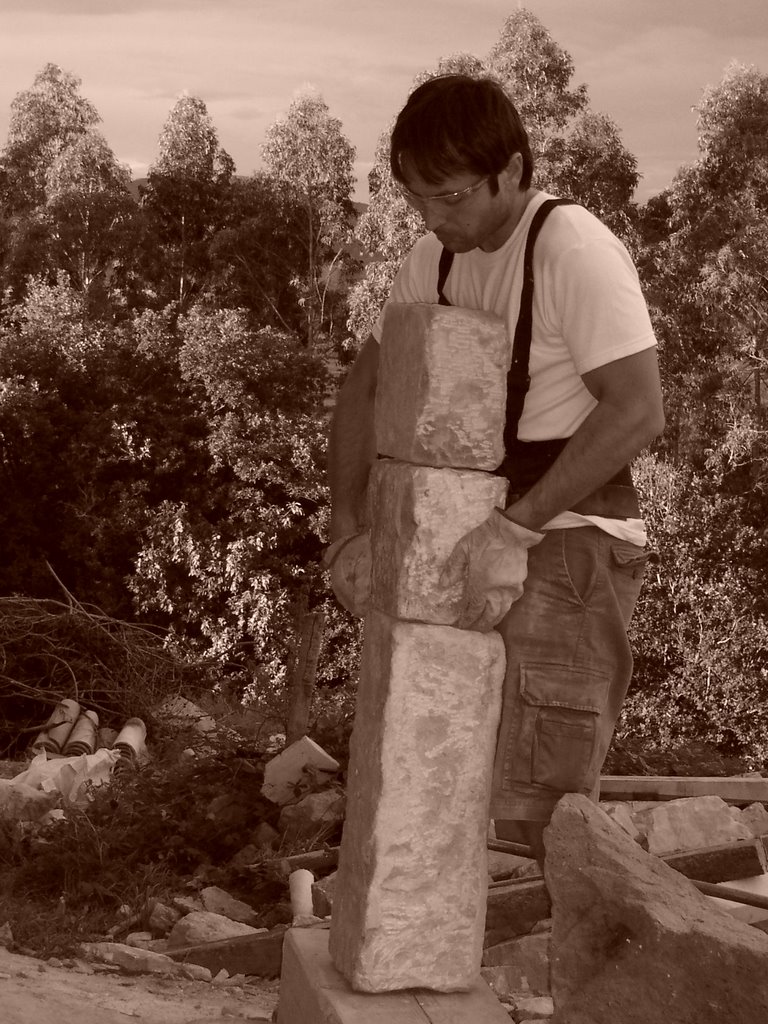
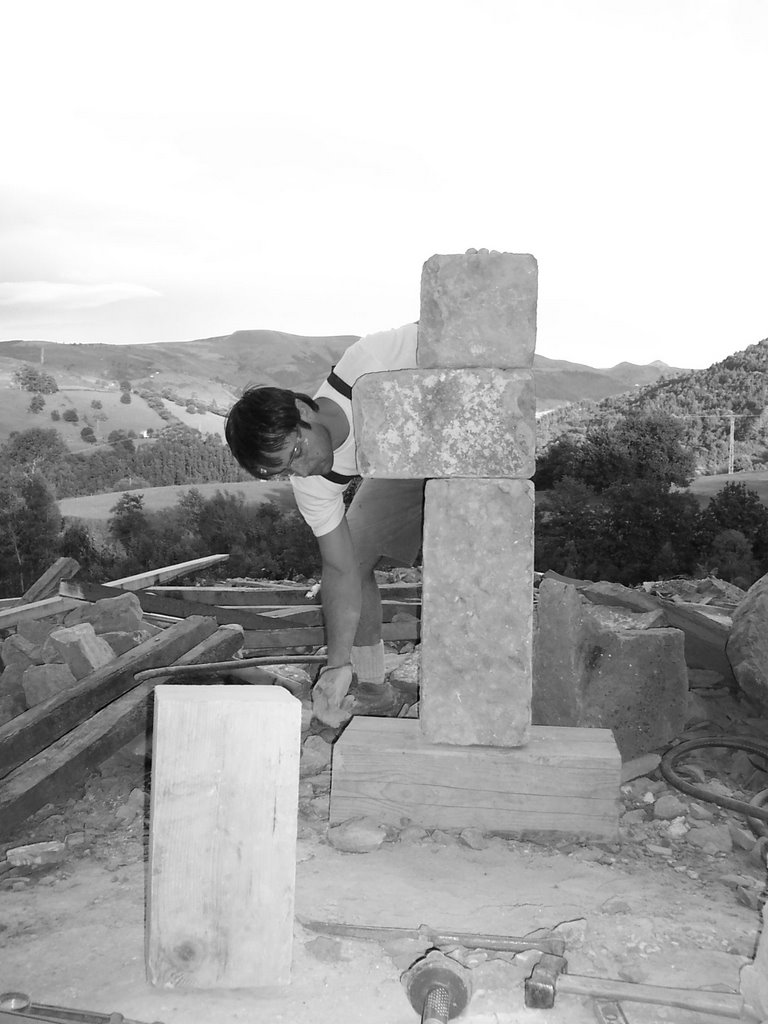
Anyway, what I am posting now is taking me sometime too, I am mostly by myself doing all this and you´ll see how tricky it gets. As usually my bro helps when he can and also Emiliano, a Roumanian neighbor that I hire on weekends, sometimes.
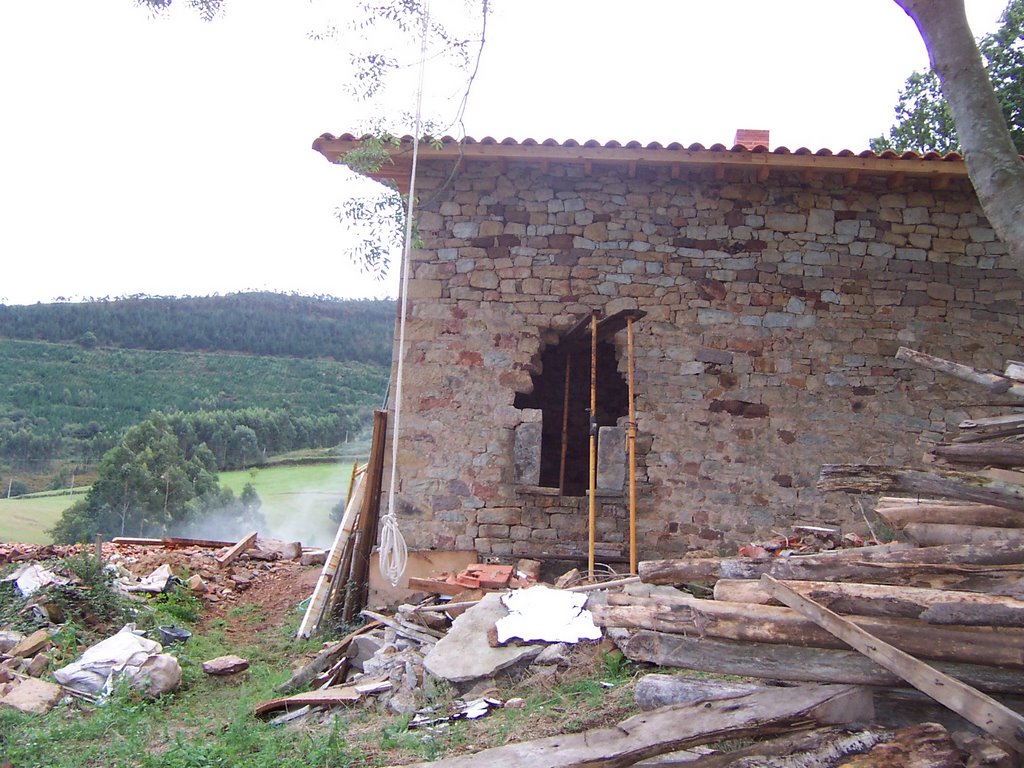
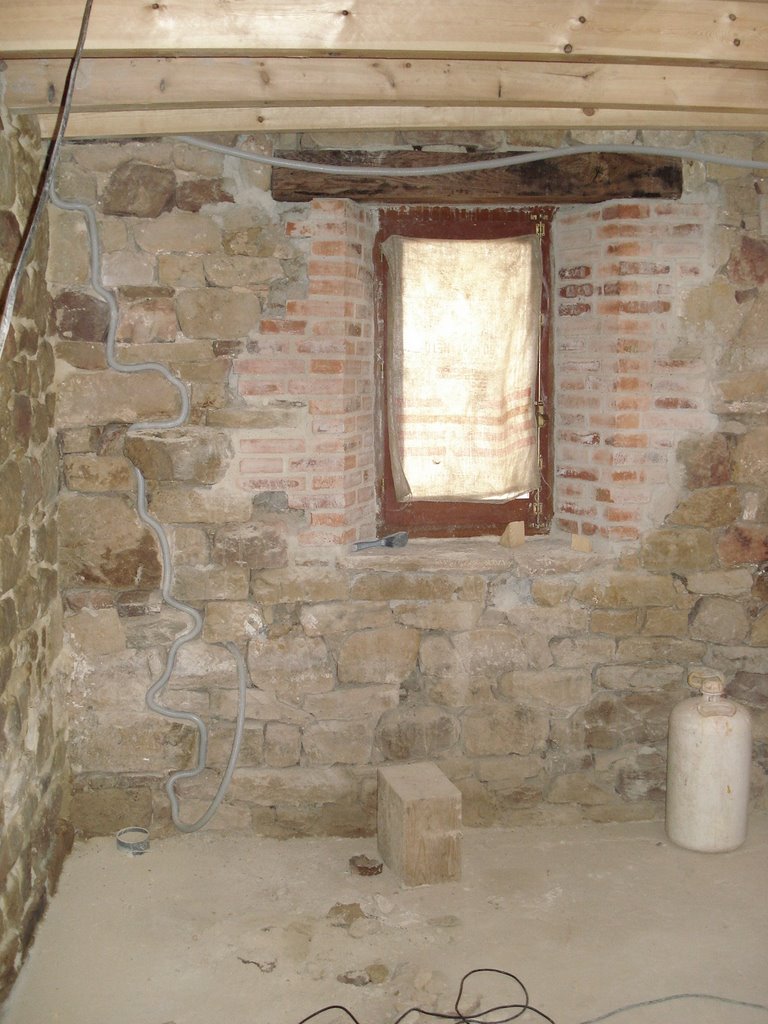
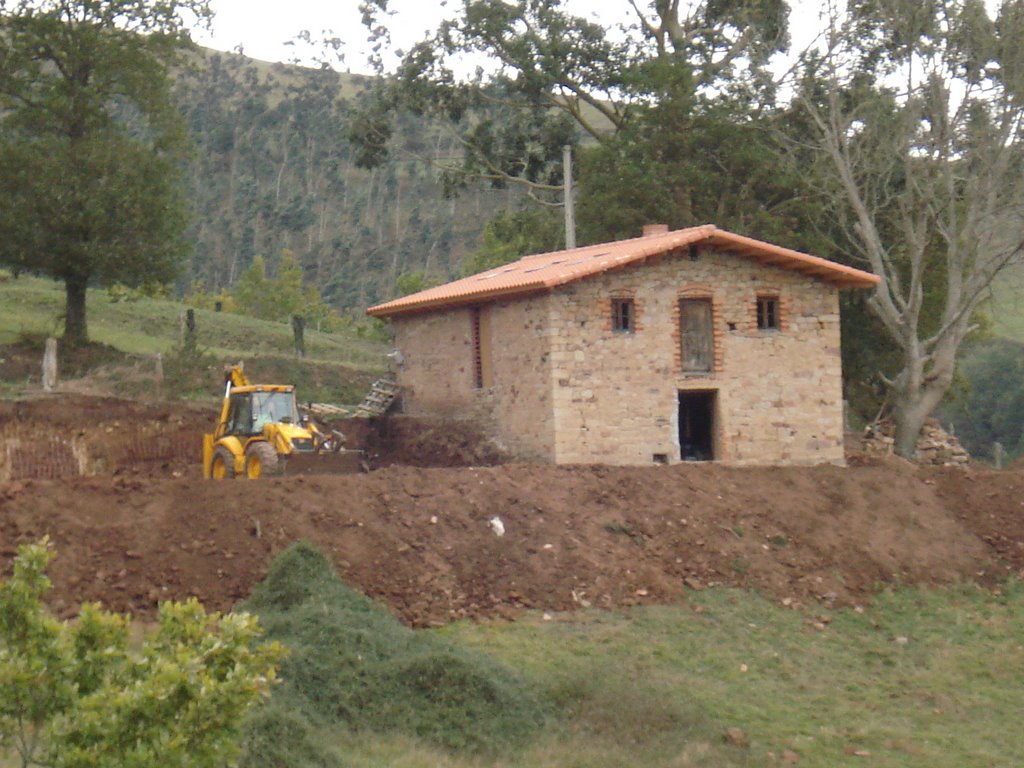
Ok. This is about the ground level door, main entrance to the cabaña, that was lousely framed in funcky brick topped with a funny arch that made you wander how could it hold.
A solid oak door, brand new custom made by a local carpenter was to be set in that place. The door features a little window opening in it.
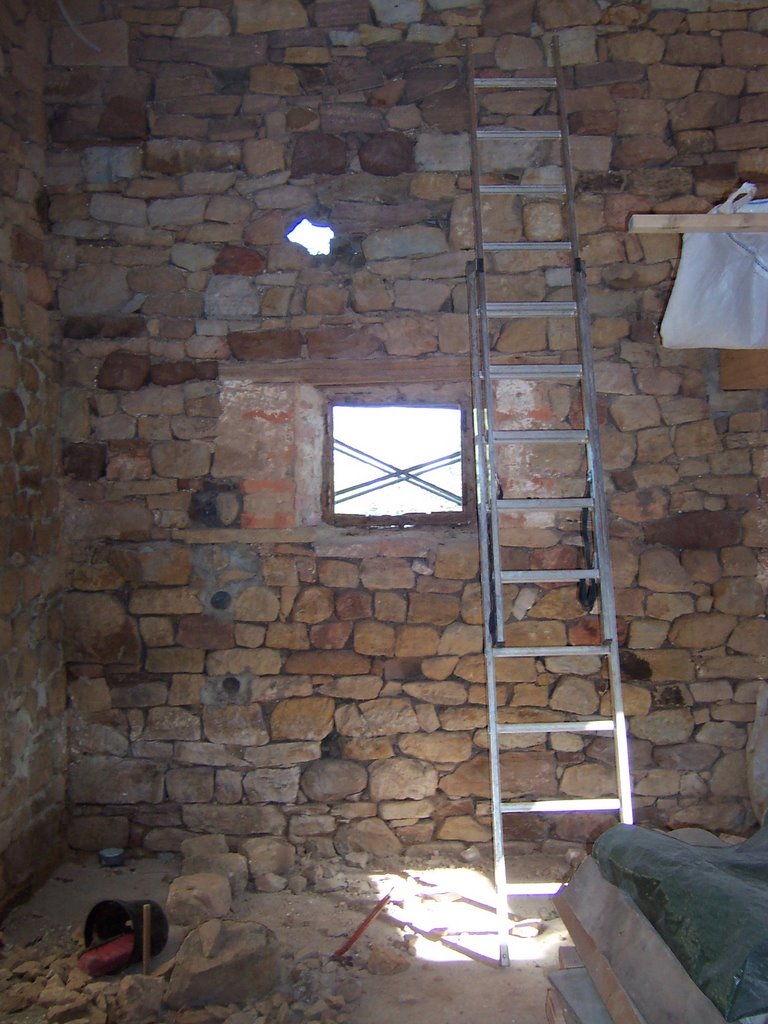
So before I started, it look like this... well part of the wall frame has been already done with new stone, bottom part.

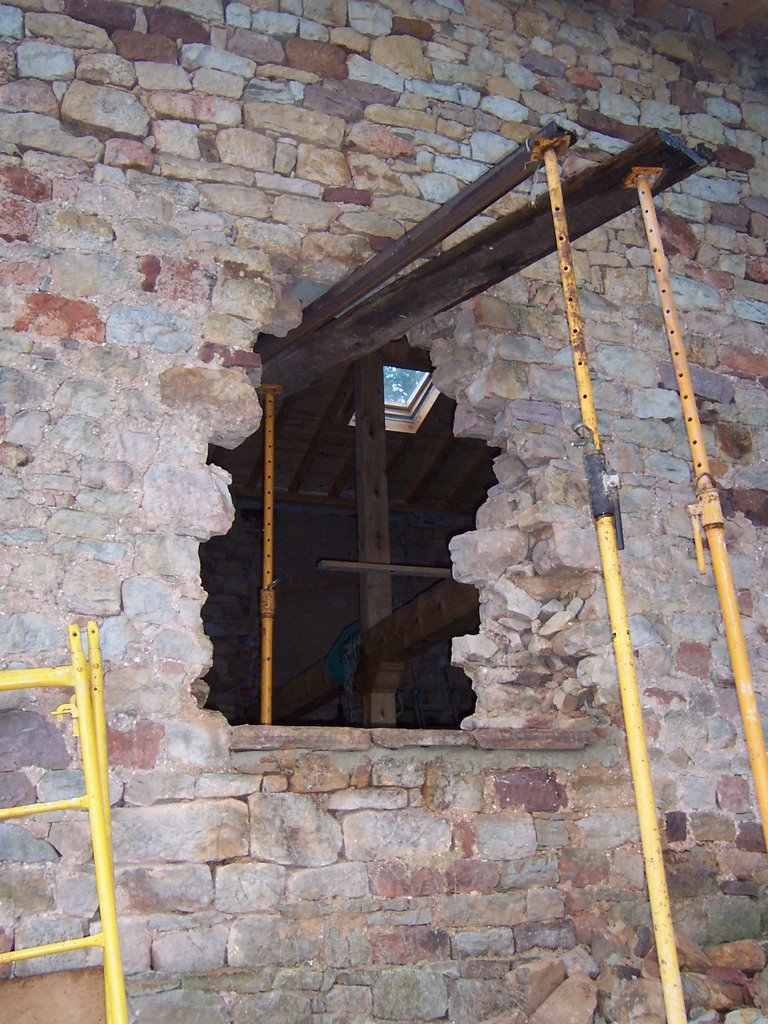
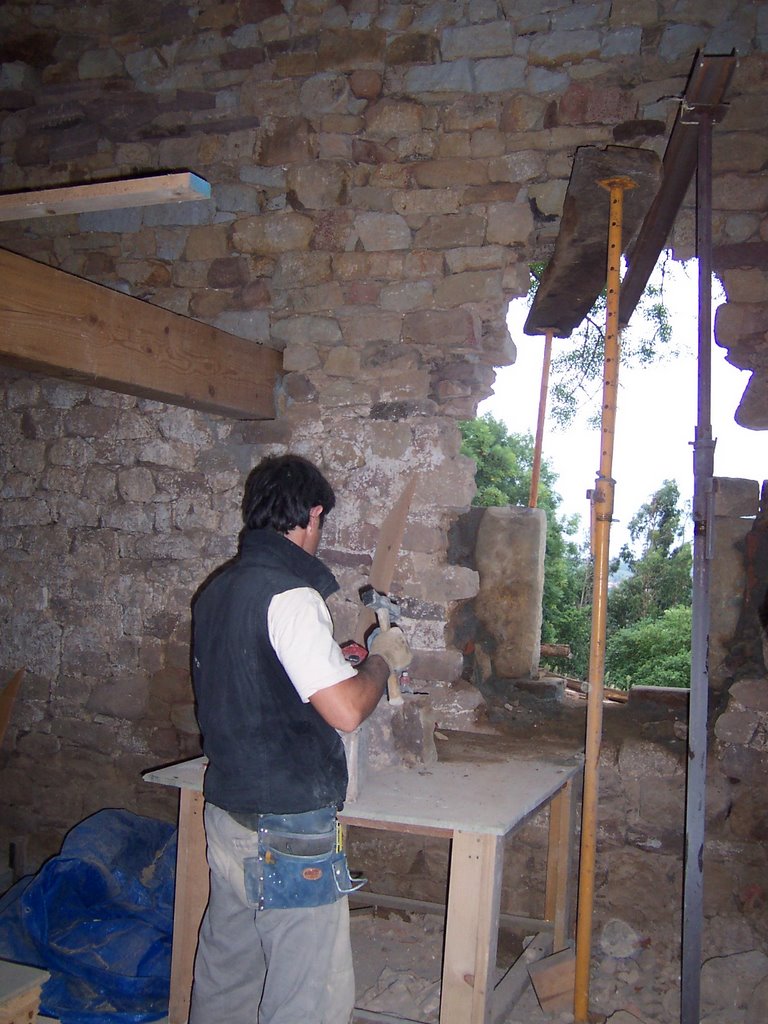
... and we progessed up, using a pillar to hold the arch so it won´t fall on our heads. There is also another yellow iron extensible pillar or post or however you call it inside, you can see it in this shot. That one was actually holding up the summit beam that holds the roof on top of this wall, with it I pushed that beam up two millimeters over its seat, so it won´t lean weight on top of where I am removing stone, adding odds to have the wall crumbling down on me.

... we were working left and right up.

Inside look. The funky brick has been removed on the left. Notice the yellow pillar inside.
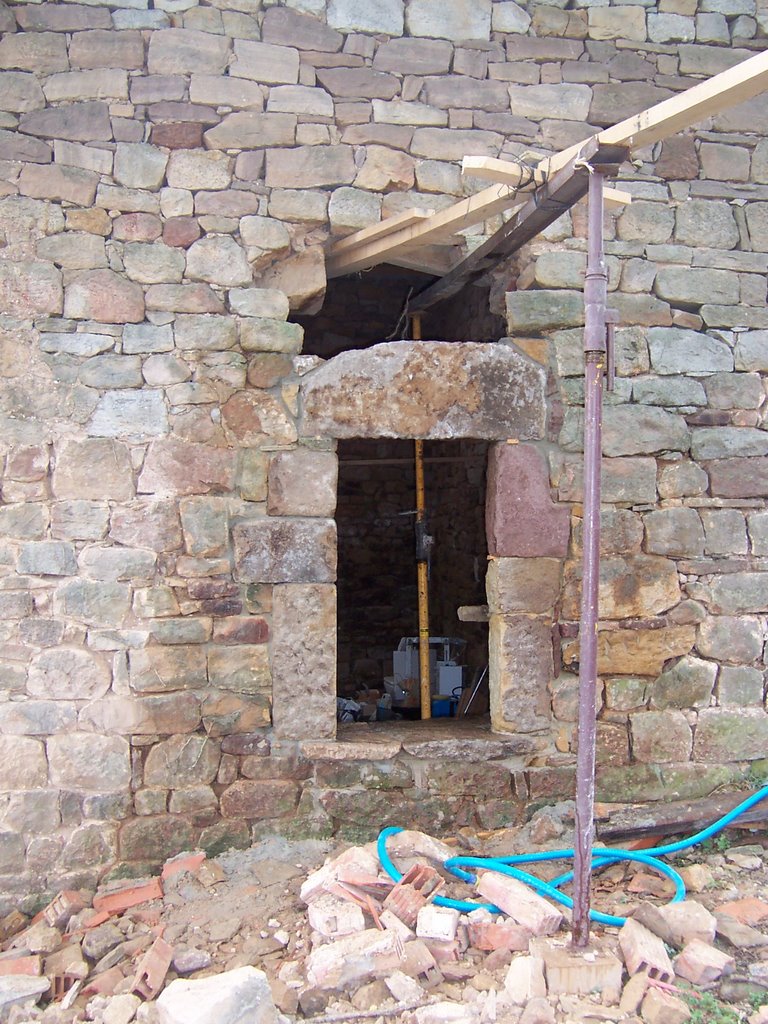
But also look at the bottom, the threshold here is higher than it should; this is because we actually lowered the cabin´s floor lever right under the foundation level, so now we had a 12 inches tall section of wall acroos the threshold. I had to break and dismantle a few stones here to correct the level and remove that "step" in there. The funny thing is that when I tried to break the stoned right under the frame of the door, the ones actually holding it, the broke perfectly and in line just where I needed them to.


I laid brick for the inside frame of the door with the laser lavel a very good friend gave me as a gift, very usefull, I could never thank him enough, I use it a lot. Now I lay no brick without it. Emiliano if here working on repointing the wall.


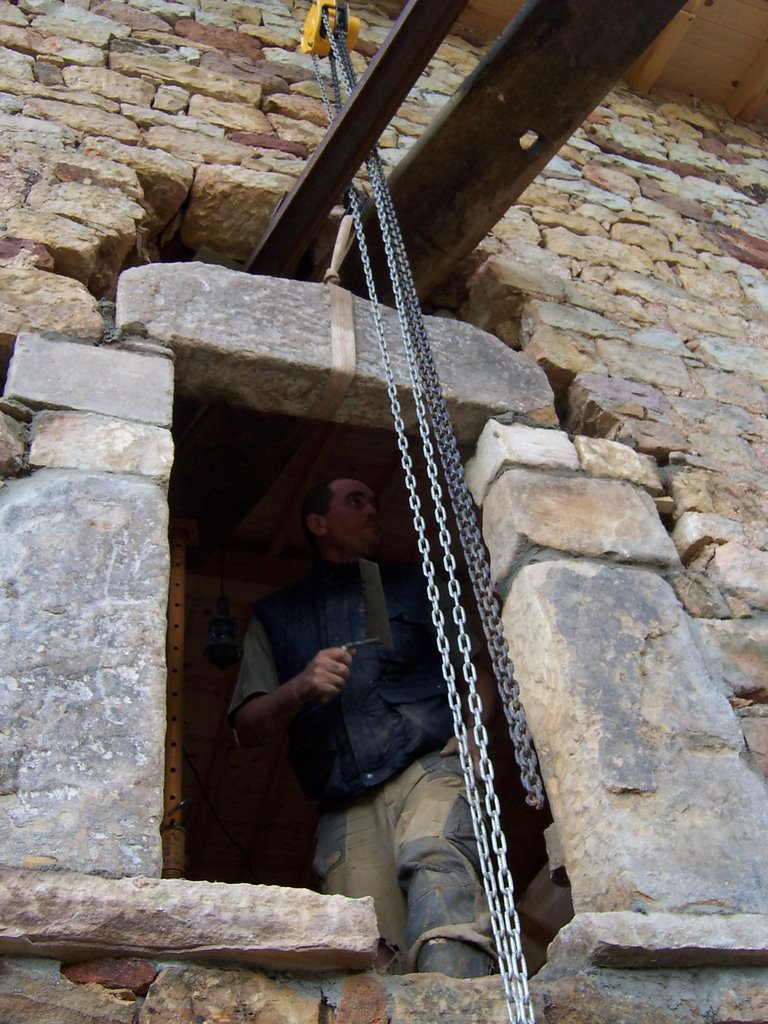
Once the outside frame was done and finished I attached a strong rope to the summit beam inside, pull that rope outside and pass it around a strong beam out the upper floor door. There I attached the pulling cranck and pulled the stone lintel up, this was pretty complicated and I done it all alone. I had recently fallen inside the house and broken a rib too, didn´t mention it before but while working on the south facing inside door of the second floor I slid on the ladder and fell on top of some machinery, some ten feet bellow. It was bad but I have recovered well, and kept on working too, in the meantime.

... coming up smooth and well, pushing it in in place was very hard, but I finally got it.


Frame finished...

... and door in place. One down.

Saturday, April 07, 2007

Pictures of the inside. Half the hard floor has been laid upstairs, and I won´t complete it until I am finished with the placing of the new doors. This work will take some stone off of the walls that will be laying and rolling around, and I don´t want the all new hardwood floors be damaged before being used for the first time!
Anyway, these two are views of the downstairs as it is right now.


Friday, February 02, 2007

Window making, on hand carved stone


All right, this is a very good one and the first time I got my hands to stone carving, rustic, of course. I haven´t been able to achieve much subtle work just yet, but a lot of bruises and blister as a matter of fact.
To the left you can see how a window was before starting, from the inside. There were two of this that had been completely redone with new window set on place.


Once I had measured both the window and the hole in the wall I started producing the "sillares" or seating stones to frame the window into the wall, outside. While carving them I placed them on top of each other to test their seating.


This was the big hole needed to be open, keep in mind each one of the stones out of the wall were quite large, to make room a bunch of them had to come off. Three pretty flat stones were already in place for the bottom part.
... and we started setting the seating stones in place, checking closely their level and plumb.


At this point, Luis was helping out, although most of the work was done by myself and brother JuanPedro. Here you can see how a winch was used to lift the very heavy dintel stone for topping the outside face. The beams across the wall were to hold the stones above us, walls are quite crumbly at this point and potentially dangerous too. This was a very delicate operation.


The outside stone frame for the window has been finished and the window´s own frame is set in place and glued with poliurethane foam.


And this is a picture of the finished result, from the outside, only the hole above it had to be closed with stones until withdrawing the crossing supporting beams.

We used a rail-line tie as dintel for the inside face of the window, this was finished with clay bricks with an angle to let more light in.


Extension foundations


Once the grading around the house was finished, and the draining ditch at the back finished and filled, we dug out this foundations and pour concrete into them. Their function was several: they will serve as retain for the wall of dirt under the road (to the left of the above pic), they will serve as platform to bear the two 1500 gallon water cistern tanks (the wider part in the foregorund of the pic), they will give better support and stabilize the wall of the house to this side and of course, they will support the structure of the one floor garage extension.


The iron mesh laying on the ground will be inside the vertical concrete retaining wall still to be built right on top of the foundation to hold the higher ground, on which the road lays also.
When we did all this I also prepared a box for a pour in the front of the house for a big step and bettering support over there too, see Raya seating on it.

Sunday, December 17, 2006

More dirt moving


And now we moved to the front and right of the house, where we lack space due to the acute slope. Also I plan on extending the building to the right of it, so I had to get some space there. You will see here how the bulldozer digs into the slope close to the road and then works it vertical for this extension.
All the material coming from this was pushed down the slope in orther to gain flatter space there.


We tried to get as near to the walls as possible to improve the drainage and keep waters away from the foundations. At this particular point, the bedrock in which the foundations of the house lay were exposed, giving an oportunity to push fresh mortar into the stones. We were worried about the road holding on, so we had to speed this process and try to build the retaining wall that came next as soon as we could.