Window making, on hand carved stone
All right, this is a very good one and the first time I got my hands to stone carving, rustic, of course. I haven´t been able to achieve much subtle work just yet, but a lot of bruises and blister as a matter of fact.
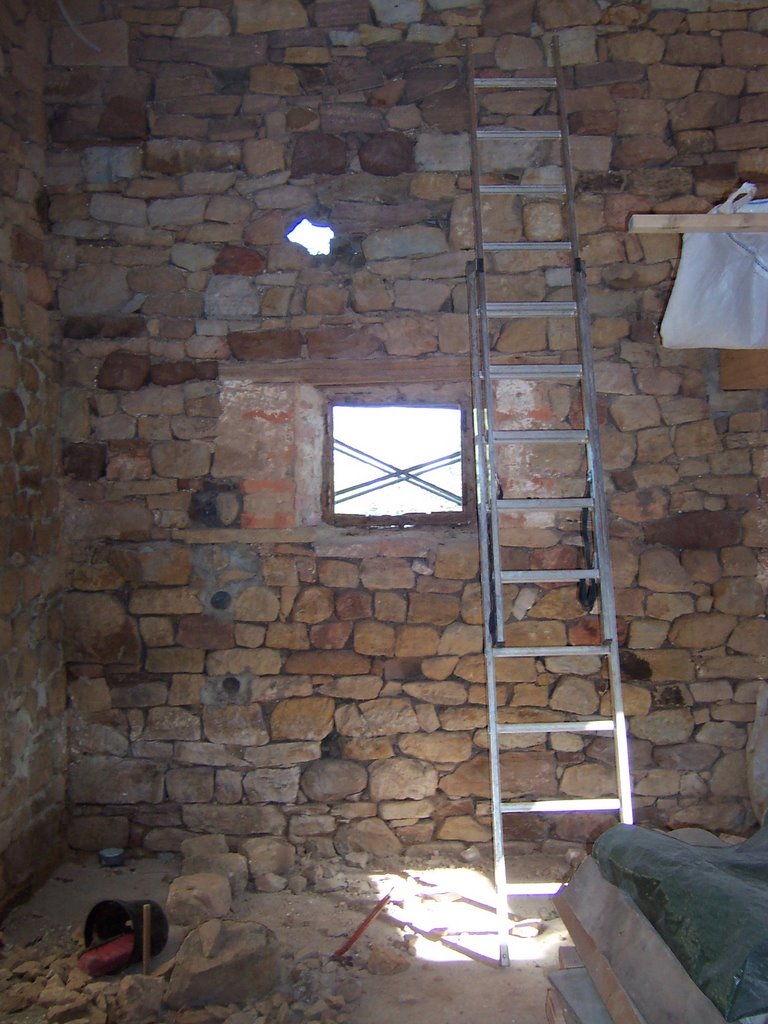
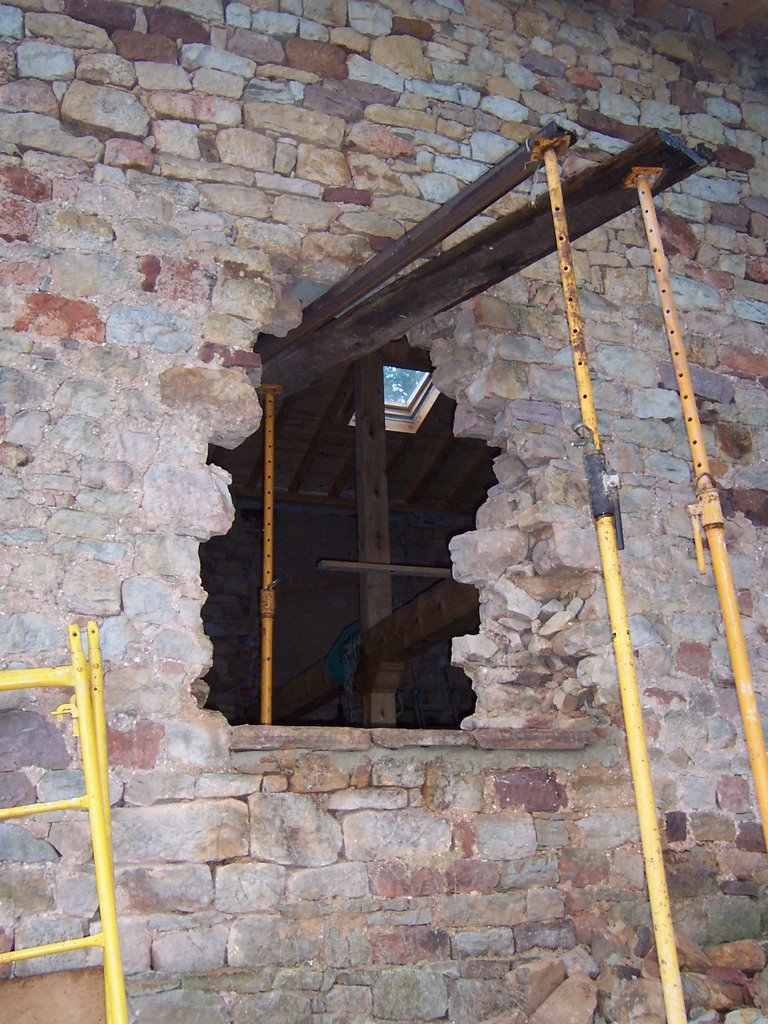
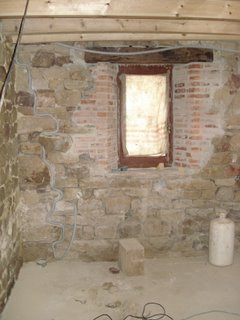
To the left you can see how a window was before starting, from the inside. There were two of this that had been completely redone with new window set on place.
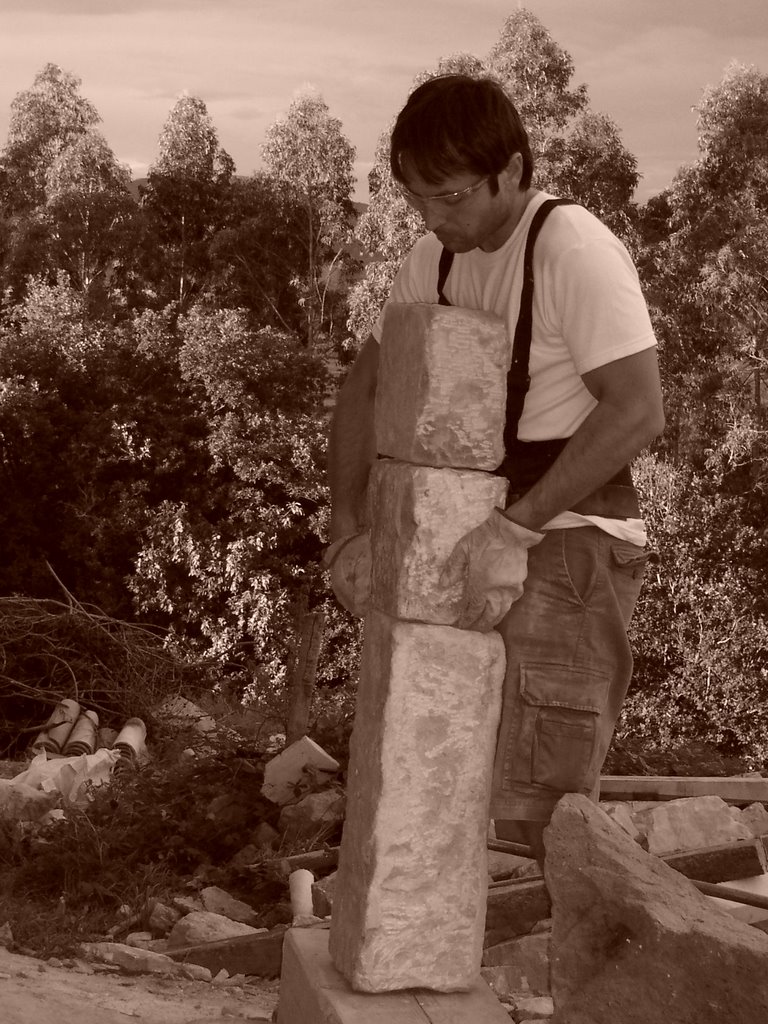 Once I had measured both the window and the hole in the wall I started producing the "sillares" or seating stones to frame the window into the wall, outside. While carving them I placed them on top of each other to test their seating.
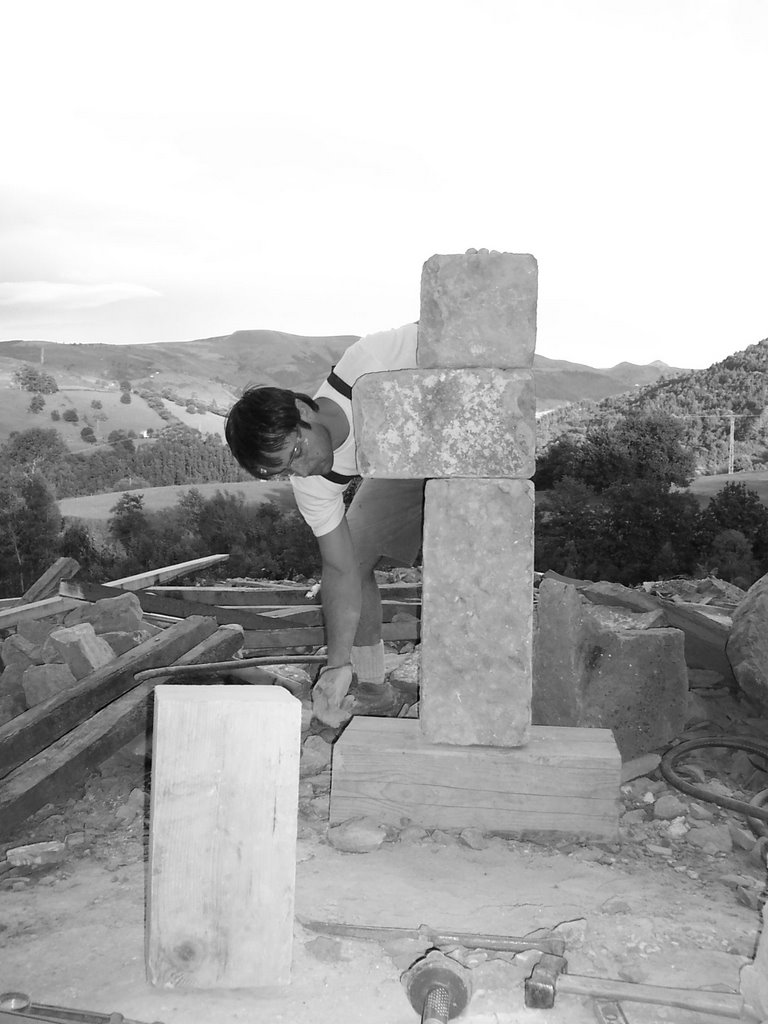

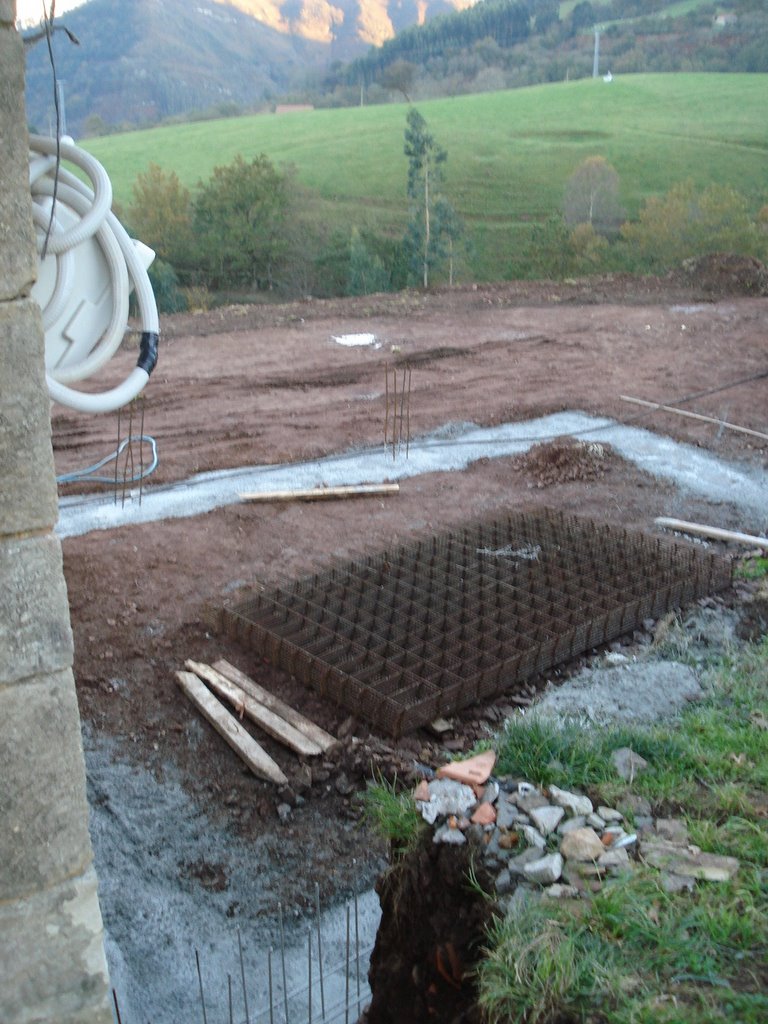
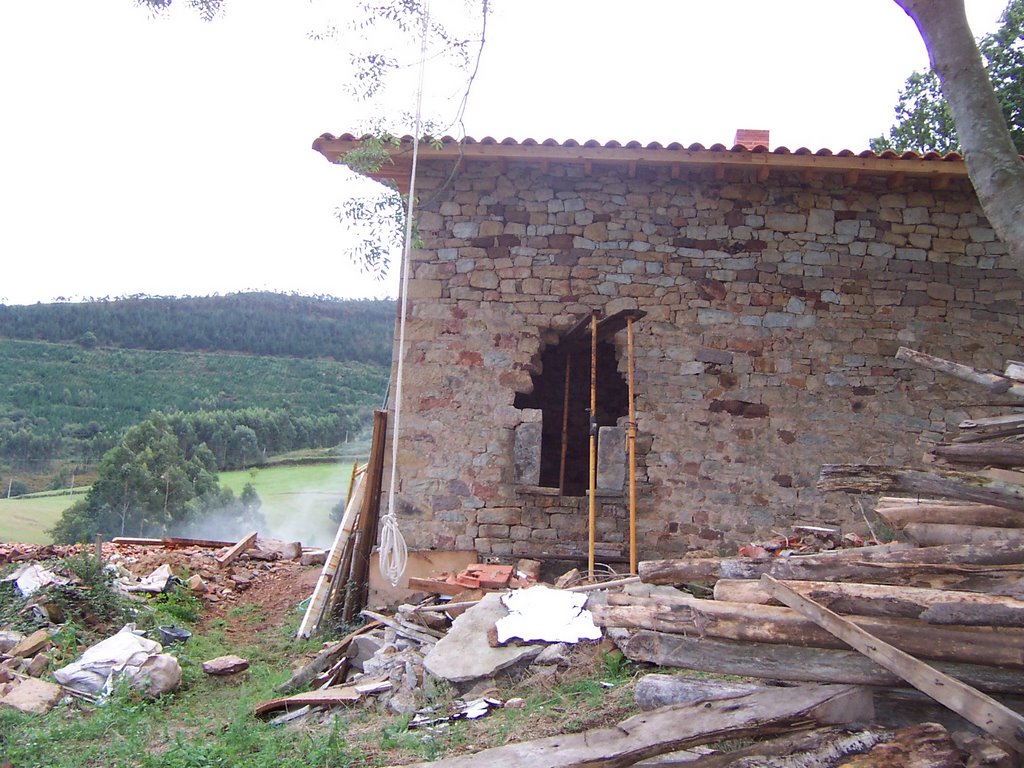
This was the big hole needed to be open, keep in mind each one of the stones out of the wall were quite large, to make room a bunch of them had to come off. Three pretty flat stones were already in place for the bottom part.
... and we started setting the seating stones in place, checking closely their level and plumb.
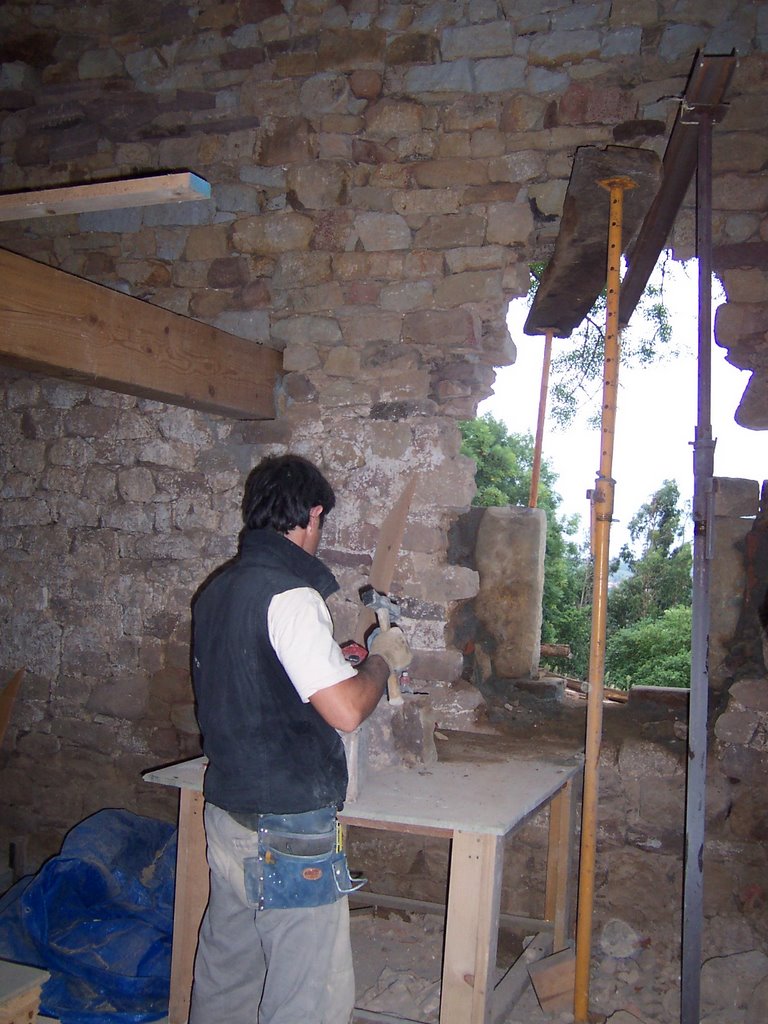
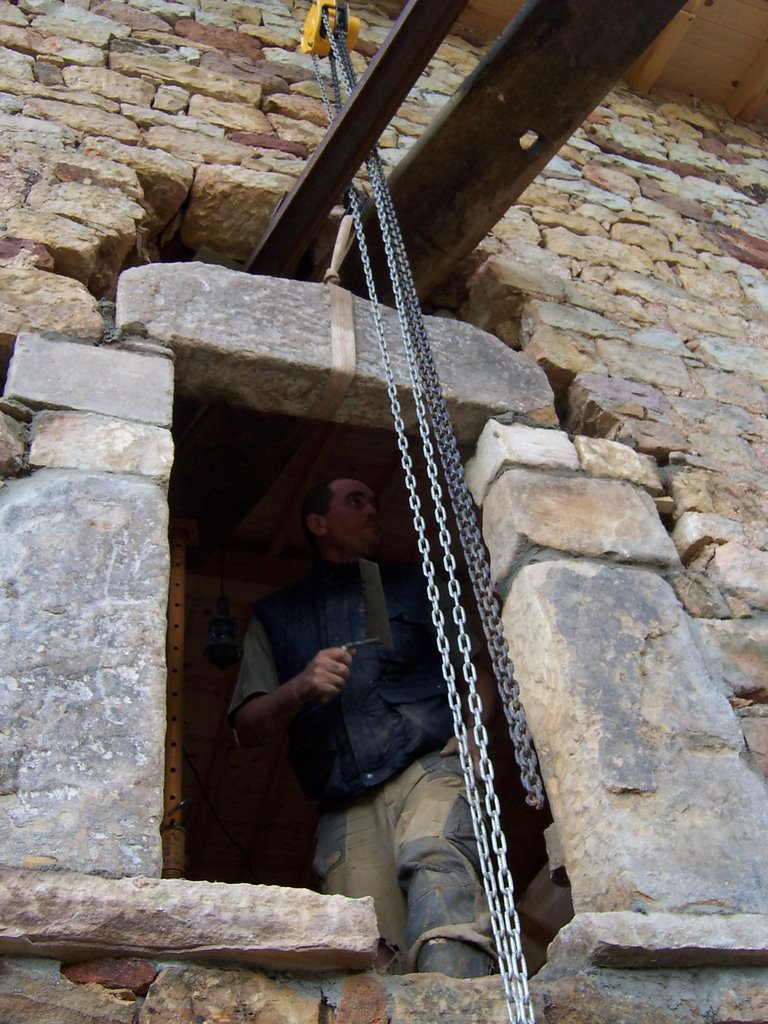
At this point, Luis was helping out, although most of the work was done by myself and brother JuanPedro. Here you can see how a winch was used to lift the very heavy dintel stone for topping the outside face. The beams across the wall were to hold the stones above us, walls are quite crumbly at this point and potentially dangerous too. This was a very delicate operation.
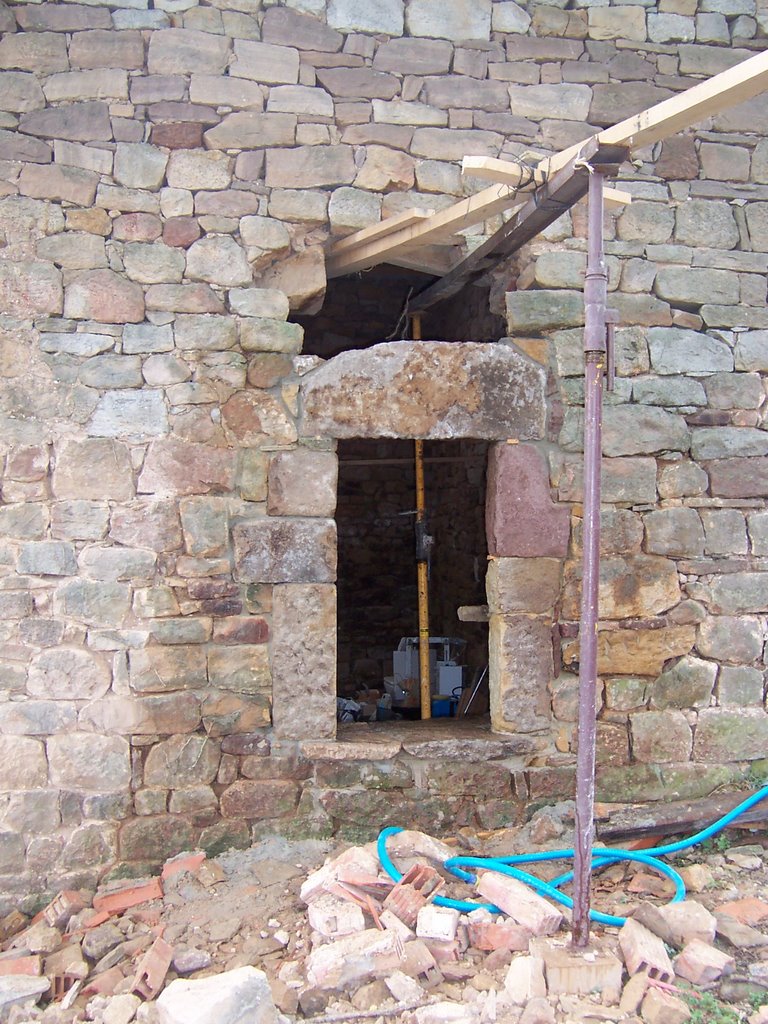
The outside stone frame for the window has been finished and the window´s own frame is set in place and glued with poliurethane foam.


And this is a picture of the finished result, from the outside, only the hole above it had to be closed with stones until withdrawing the crossing supporting beams.
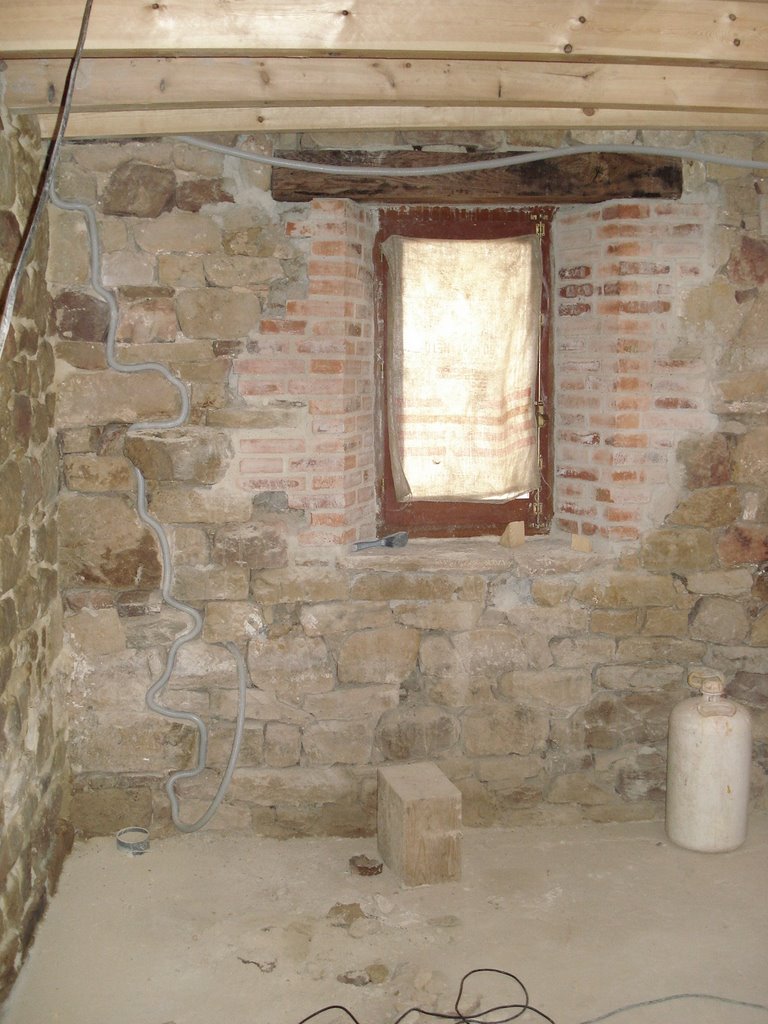
We used a rail-line tie as dintel for the inside face of the window, this was finished with clay bricks with an angle to let more light in.
posted by Eduardo at
11:01 AM
|
1 comments
![]()